🚨 Critical: Use Lab-Supplied Containers
Never use your own bottles or containers for a certified lab test. Bacteria samples require a sterile container with sodium thiosulfate (to neutralize residual chlorine). Chemistry samples require specific preservatives. Your lab will supply the correct containers when you order the test.
Before You Begin: What You’ll Need
- Lab-supplied sterile sample container(s) (ordered from your certified lab—find one here)
- Clean nitrile gloves (one pair per sample collection)
- Permanent marker for labeling
- Cooler with ice packs (for transport)
- Lab’s chain-of-custody form (if provided)
Choosing the Right Tap
For a true representation of your well water, collect from:
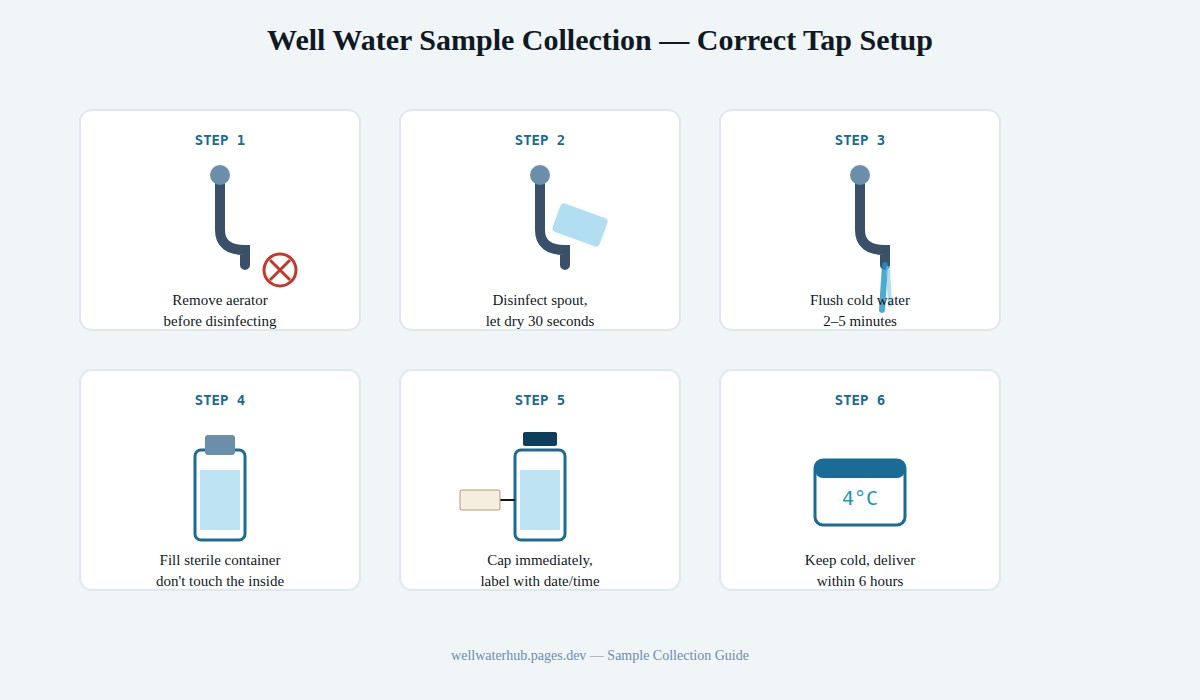
- Correct: An indoor cold-water tap that connects directly to the pressure tank, without a filter, softener, or treatment system in line. The tap at the kitchen sink typically works, but verify there’s no under-sink filter.
- Incorrect: A faucet downstream of a water softener, sediment filter, reverse osmosis system, or UV system. These systems alter results and you’d be testing treated water, not source water.
- For filter system verification: Collect one sample before and one after the treatment system to evaluate treatment effectiveness.
- For a hose bib or outdoor tap: Only use for bacteria testing if you have no alternative—these taps accumulate biofilm that can cause false positives.
Step-by-Step: Bacteria Sample Collection
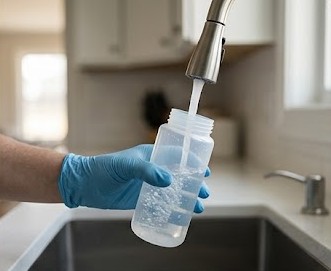
Bacteria samples are the most technique-sensitive. A contaminated collection introduces lab bacteria that mimic well bacteria, producing a false positive.
- Remove aerator and screen from the faucet
The aerator harbors bacteria regardless of your well’s bacterial status. Unscrew it, set it aside, and do not reinstall it until after collection.
- Disinfect the faucet opening
Wipe the faucet spout with a clean alcohol pad (provided by some labs, or use a 70% isopropyl wipe). Let it dry for 30 seconds. Do not touch the faucet opening after disinfecting.
- Wash your hands and put on gloves
Wash thoroughly with soap, dry completely, then put on fresh gloves. Do not touch anything except the sample container and faucet during collection.
- Turn the cold water on and run for 2–5 minutes
This flushes the standing water in the pipes and brings fresh water from the pressure tank (which comes directly from the well). The exact flush time your lab recommends may vary—follow their instructions if they differ.
- Reduce flow to a slow, steady stream
A fast flow creates turbulence and splashing. You want a slow, controlled stream into the container.
- Open the sterile container without touching the inside
Hold the cap in your other hand, face-down. Do not set the cap on any surface. Do not let anything touch the inside of the container or the cap interior.
- Fill to the line (not to the top)
Most bacteria containers have a fill line—fill to that line exactly. Overfilling dilutes the preservative (sodium thiosulfate). The lab needs a specific volume for accurate counting.
- Cap immediately
Do not set the container down open. Cap it the moment it’s filled. Invert once to mix the preservative. Label immediately with your name, date, time, and sample location.
- Place on ice immediately
Bacteria samples must be kept at 4°C (39°F) and delivered to the lab within 6 hours of collection. If you can’t make it to the lab in 6 hours, check your lab’s policy on next-day delivery with overnight ice.
Step-by-Step: Chemistry Sample Collection
Chemistry samples (nitrates, metals, pH, TDS, etc.) are less technique-sensitive than bacteria samples but still require proper procedure.
- Use the correct containers
Your lab will supply different containers for different parameter groups. Metals (lead, arsenic, iron) typically require an acid-preserved container. Nitrates and anions use a different container. Do not mix them up.
- Flush the tap for 5 minutes
Chemistry samples often call for a longer flush than bacteria samples to ensure you’re sampling well water, not water that’s been sitting in pipes where leaching from pipe materials could affect metal readings.
- Fill to the top, leaving no air space
Unlike bacteria containers, chemistry containers are typically filled to the brim. Air space can affect dissolved gas measurements. Follow the specific instructions on your lab’s container label.
- Label and transport per lab instructions
Chemistry samples are less time-sensitive than bacteria samples but should still be kept cool and delivered promptly. Most labs accept chemistry samples shipped overnight on ice.
Common Mistakes That Invalidate Results
| Mistake | Effect | How to Avoid |
|---|---|---|
| Not removing aerator before collection | False positive bacteria result | Always remove and set aside aerator before disinfecting faucet |
| Touching inside of container or cap | False positive bacteria result | Hold cap face-down, never set on a surface, never touch interior |
| Collecting from downstream of softener or filter | Results represent treated water, not well source | Identify and use an untreated tap—typically before any treatment equipment |
| Not flushing long enough | Results represent stagnant pipe water, not well water | Run cold water 2–5 minutes for bacteria; 5 minutes for chemistry |
| Using tap that connects to water heater | Hot water contains different bacteria profile; alters chemistry | Always use cold-water tap |
| Delay in delivery to lab (>6 hours for bacteria) | Bacteria multiply or die during transit; result unreliable | Plan collection for morning; deliver same day or use overnight ice |
| Using expired or non-lab-supplied containers | Results not accepted by lab, lenders, or health departments | Always use fresh lab-supplied containers |